Building a Blog With Hugo - Part 4
Your blog is up and running (locally), you've created your first post and customized the look of the site. Let's get cracking on seeing who is visiting the site.

In the previous post, I covered how to customize the theme for your Hugo site. I apologize if it was a bit long. This post is considerably shorter. In this post, I’m going to walk through how to configure Google Analytics for your site. Let’s get started.
Before we get started…
If you are already familiar with Google Analytics, then this will be a short read for you. All you need to do is:
-
Create a new account for monitoring your blog site.
-
Copy the
Tracking IDfor the account. -
Enter the
Tracking IDbetween the quotes on thegoogleAnalyticsline near the beginning of yourconfig.tomlfile. Like so:googleAnalytics = "your tracking id here" -
Then you are done!
For those of you who haven’t ever set up Google Analytics before, buckle up, and I’ll walk you through the process.
If you don’t have a Google Analytics account, you need to set up one by going to this URL: https://analytics.google.com
Set Up Google Analytics
I’m going to assume you have created your Google Analytics account, and have logged in to it. But, if you aren’t logged in, go ahead and do that now.
NOTE: Please beware that some of the images/screenshots I use in this post are slightly different from what you see when following the steps. This is due to me using my existing Google Analytics account.
-
Begin by clicking on the Admin button in the lower-left corner of the dashboard.
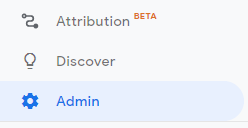
Admin Button
-
Click Create Account and enter a name for the account and determine the data sharing options you are comfortable using and click Next.. I left everything checked.
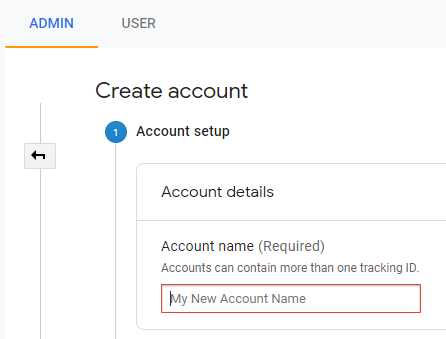
Account Setup step
-
Select Web because that is why we’re doing this and click Next.
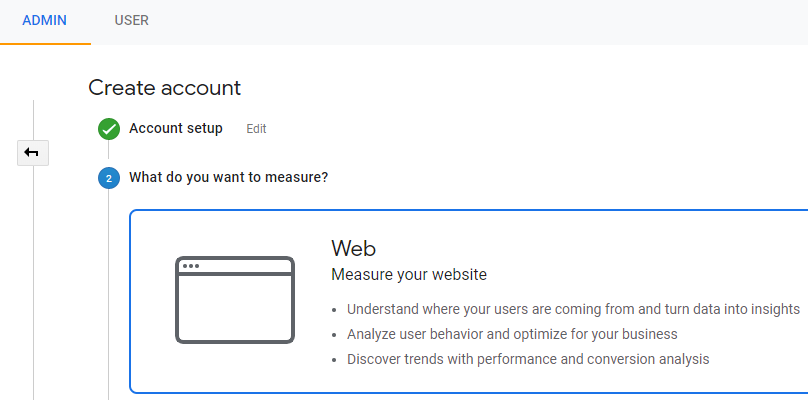
What to Measure step
-
Enter a name for your blog/website.
Keep in mind that what you enter does not need to match the domain name of your blog site. You will enter the domain name of your site in a step below.- Enter the URL for your blog site
- Select a category from the Industry Category drop-down box.
I selected Online Communities. - Select the Country and the Timezone.
- Click Create.
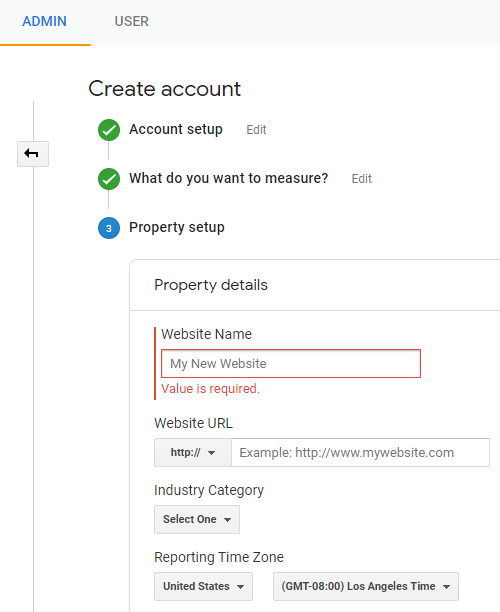
Property Setup step
-
Agree to the terms of service and click the I Accept button. Only accept these terms if you agree to them, but understand you can’t proceed unless you accept them.
-
Finally, the Property page for your new Google Analytics Account is presented.
TheTracking IDis easy to see in the Property screen. Keep theTracking IDhandy. It is needed in the next section.
NOTE: The Tracking ID is unique to your site so, don’t share it!
Configuring Google Analytics in Hugo
Open the config.toml file for editing. If you have been following along with the series it should look similar to the following text snippet:
baseurl                 = "https://example.com/"
DefaultContentLanguage  = "en"
title                   = "Learning Hugo"
theme                   = "hugo-future-imperfect-slim"
preserveTaxonomyNames   = true
paginate                = 3
disqusShortname         = ""
googleAnalytics         = ""
pluralizeListTitles     = false
disableLanguages        = [""]
Enter the Tracking ID between the quotes on the googleAnalytics line like so:
googleAnalytics = "UA-987654321-1"
FYI! That is NOT a real Tracking ID.
- Then you are done!
That’s all there is to configuring your Hugo site to work with Google Analytics.
In the next post, I’ll cover how to publish your site to GitHub for all to read and enjoy.
Summary
Let’s summarize what we covered in this post:
- You created a Google Analytics account (if you didn’t have one already).
- We setup your Google Analytics Account for your site so we could get a Tracking ID.
- We added the Tracking ID to the Hugo config.toml file.
Be sure to come back to read the rest of the posts in the series or review posts I have already written.
Series Table of Contents
Here are links to the rest of the series:
- Part 1: A quick introduction to GitHub Pages and Hugo
- Part 2: Creating your first Hugo site
- Part 3: Customizing your theme/site
- Part 4: Configuring Google Analytics
- Part 5: Publishing your site
If there is something you think I’m missing and feel should be added, please let me know.