How to Backup vCenter v7 using the SMB protocol
VMware vCenter is a vital management tool for your VMware environment. Are you backing it up? No? Well, read-on.
Introduction
In this post, I will write about using the file-based backup feature in vCenter v7.0. Surprisingly, this feature has been available since vCenter 6.5. But, until recently, I hadn’t heard much about it.
Before getting started, you should read through the list of considerations and limitations of using file-based backups for vCenter. You can find the entire list on VMware’s documentation site.
This feature supports the following protocols:
- FTP
- FTPS
- HTTP
- HTTPS
- SFTP
- NFS
- SMB
Keep in mind that some of these protocols (FTP and HTTP) are inherently insecure. So, choose according to your security risk. You also need to make sure you pick a location with enough storage space for the number of backups you plan to keep around.
Let’s Begin!
As the title of this blog states, I will write about using the SMB protocol for backups. To start, make sure you have the storage location configured on your Windows system. I’m going with a simple folder with the name: vCenter backups
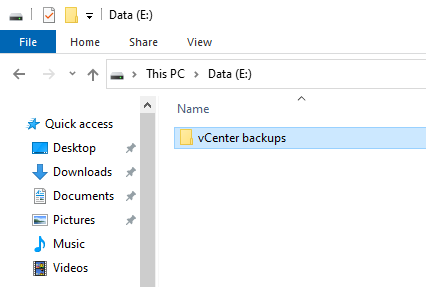
Folder for storing backups
Right-click the folder and select Properties, click the Sharing tab, then click the Advanced Sharing button.
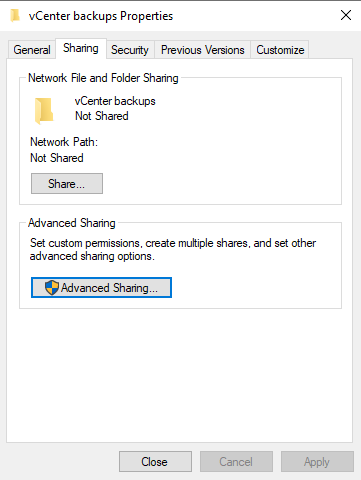
vCenter backups folder properties
Click the Share this folder checkbox. Enter a name for the share name. Then click the Permissions button.
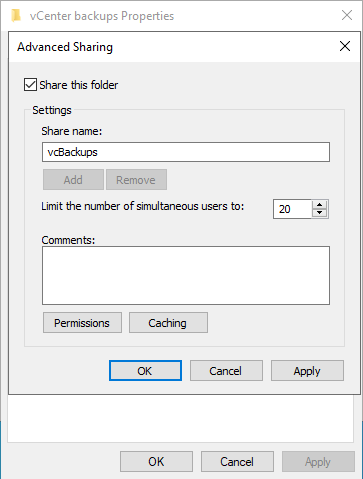
Advanced Sharing window
In this screenshot, I pre-created a service account (vcBackcups-svc) for backups and added it to the users list. Select the service account and check off all of the permissions checkboxes. After doing this, click the OK button. Click the OK button on the Advanced Sharing dialog box.
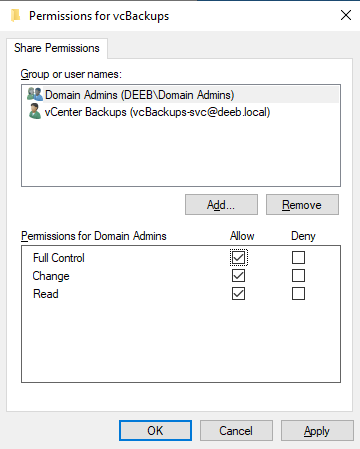
Share Permissions tab
This returns you to the folder properties window. Click the Security tab, select the service account, and click the Advanced button.
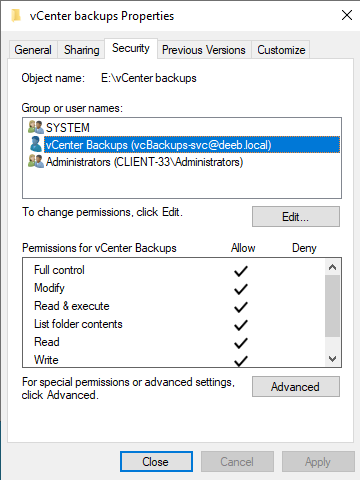
Security tab of vCenter backups folder
Add the service account and give it Full control. Click the OK button then the Close button on the folder properties window.
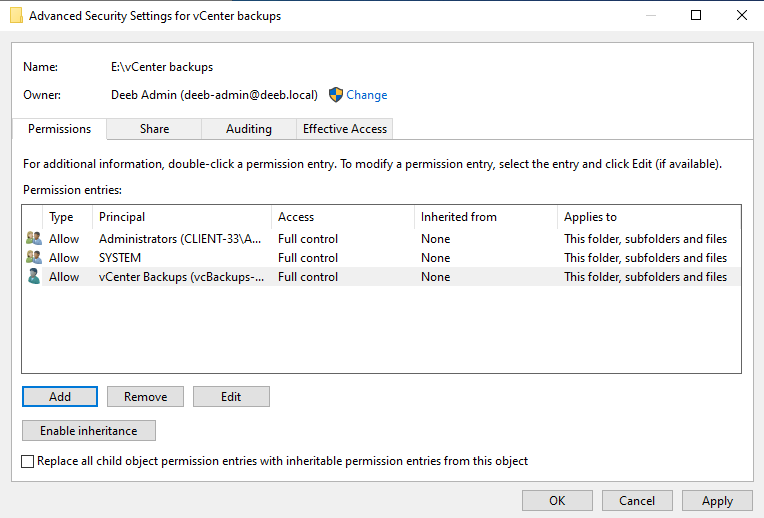
Advanced Security Settings window
At this point in the process, we have the backup location all configured. Now it’s time to set up the backup schedule in the vCenter Server Appliance. Open your web browser and log in to the vCenter Server Management interface using the root account. Use this URL to login as root: https://appliance-IP-address-or-FQDN:5480
-
After logging in, click Backup
-
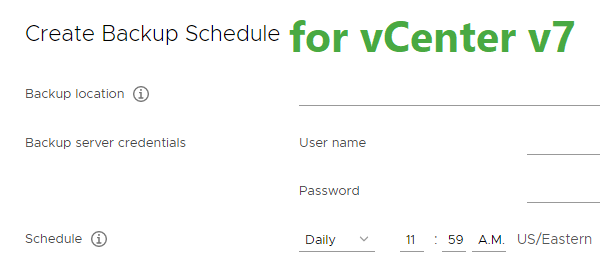
Click Configure and begin filling out the fields.
- The Backup location field is where the backups will be stored on the Windows machine. As you can see in the screenshot below, this is a format for using the SMB protocol.
-
Enter the service account username and password in the Backup server credentials fields.
-
Move to the Schedule section. Pick a time for the backup to run and how often you want to backup.
-
I didn’t enter a password for encrypting the backups, but I highly recommend doing this in a production environment.
-
The DB Health Check is selected by default. I discourage you from deselecting it.
- The DB Health Check helps you determine the status of the vCenter database. The backup job will most likely take a bit longer to complete. But, this isn’t necessarily a bad thing.
-
Enter the number of backups you want to retain.
-
If you want to retain historical stats, events, and tasks, then pick that option in the Data section.
-
Once you are finished, click the Create button.
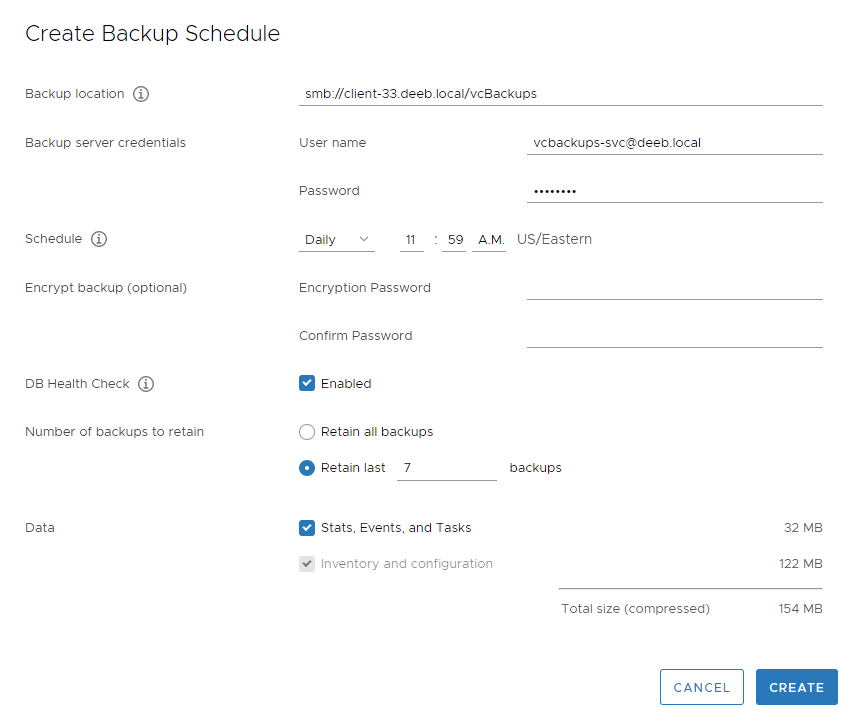
Create Backup Schedule window
Expand the Backup Schedule to confirm your choices were saved.

Backup Schedule settings
To verify the backups are configured and working correctly, click the Backup Now button.
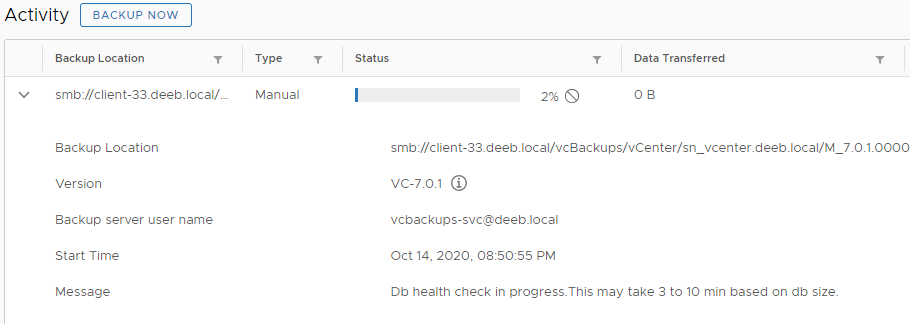
Backup Activity in progress
You can rest knowing your vCenter is being backed up.
Summary
In this post, I covered how to set up an SMB share on a Windows system for storing vCenter backups. Next, I went through the steps to configure a backup schedule on the vCenter Server Appliance (VCSA). Lastly, we ran a manual backup to confirm we correctly entered the service account password and set up the SMB share correctly.
In a follow-on post, I will cover how to do a restore.
Thanks for following along.