My First Pull Request
In this blog post I'm going to cover how to contribute to a project, hosted on Github by performing a pull request.

For those of you who know me and those of you who don’t, it won’t come as a surprise that I’m not a developer and I will never claim to be one. So, when I decided I wanted to learn how to contribute to a project on GitHub what better way to do this than to write a blog post about it.
Now that I work for Pure Storage we have annual goals we need commit to at the beginning of the year. One of my goals was to update a PowerShell script for checking storage best practices as they pertain to Pure Storage. Well, this meant I would need to learn how to perform a GitHub pull request to a GitHub repository. If you are curious about which repository and which script I’m referring to click on the link to the Pure Storage VMware-Scripts repository on GitHub. As I mentioned earlier I planned to update the best practices checker script. However, as I was about to start on updating it I realized what an undertaking that was going to be. So, I chose to update the vVols checker script. Let’s get started by learning about what is a pull request.
What is a pull request
A pull request or PR is a way for developers, or anyone who is working with a version control/code management system like git or GitHub, to propose changes to a file or group of files in a repository. When you create a pull request, you’re asking for your changes to be reviewed and hopefully merged into a main branch or another target branch of the project. To get started you first need to find a project you want to contribute to.
Find a project
Finding a project or repository isn’t too difficult. Open your browser and head over to GitHub. In the upper right corner of the window there will be a search field. Enter a project or repository you may be familiar with and click Search all of GitHub. For this post enter “vmware-scripts” and scroll down until you find the PureStorage-OpenConnect/VMware-Scripts respository and click on it.
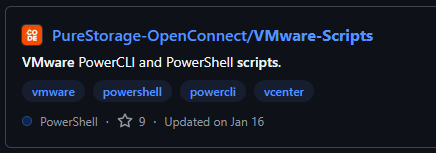
VMware-Scripts repository
Fork the project
Now that you have found a project or repository to work on, let’s create a fork of the project. When you fork a project you are making a copy of the repository on your local machine and inheriting all of the settings from the “parent” or “upstream” respository. To create a fork, simply click on the Fork button in the upper right of the respository code window.

Fork button
This gives you the ability to test out your ideas or changes locally before proposing your changes back to the upstream repository. Now that you have created a fork of the repository let’s get to work.
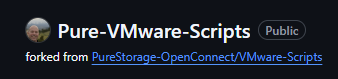
This confirms you have successfully created a fork.
Create a working branch
Before you get to work, I recommend creating a new branch for all of your suggestions. This way you have the ability to test your ideas in a branch separate from the main branch. If something goes horribly wrong, then you have the ability to “reset” back to a time before you made your changes.
Change to the directory where you are storing the local copy of your fork and issue the command:
git checkout -b your-branch-here
Substitute your own name for your-branch-here
Edit the file
Now that you have a new branch. You can get started on all of your suggestions/changes. Make “git commits” when necessary. Test out your changes locally. Push your changes up to GitHub. When you are satisfied with your changes and ready to suggest them back to the repository owner it’s time to create a pull request.
Submit a pull request
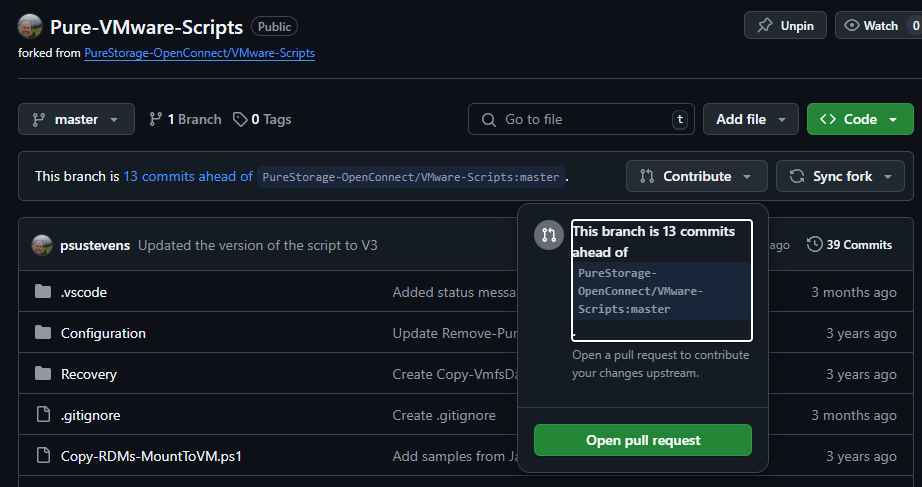
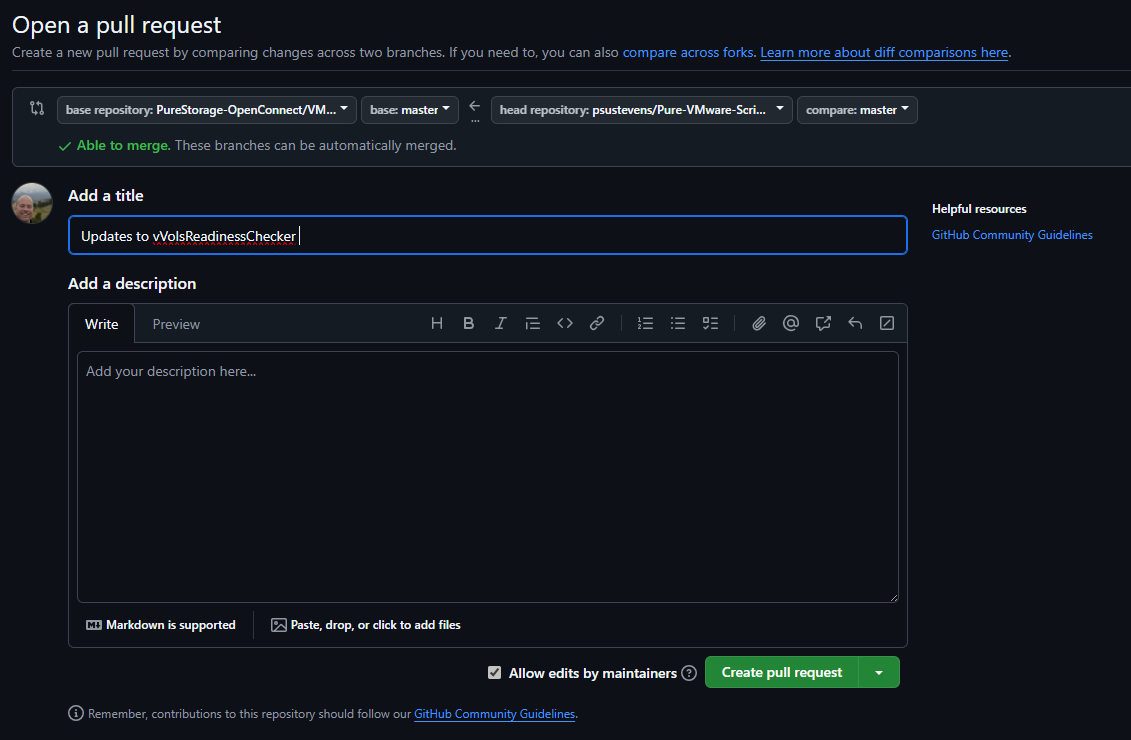
Click the Contribute button then click the green “Open Pull Request” button as shown in the screen snippet below:
Next, enter a title and description for your pull request.
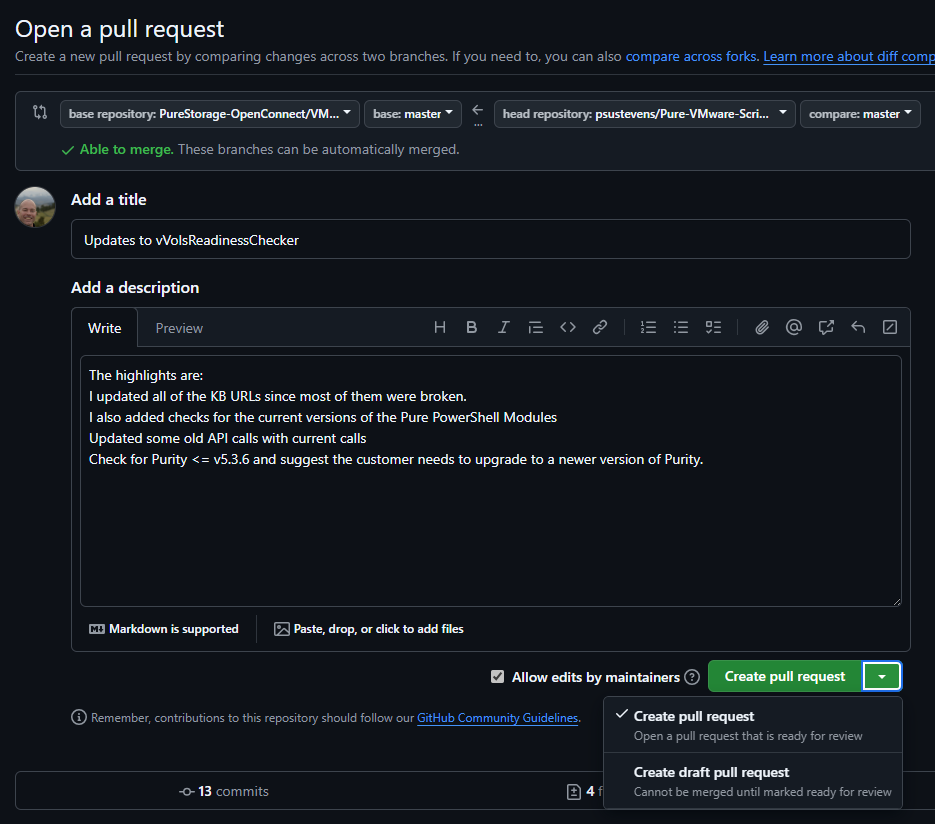
When you are satisfied with what you have entered for your pull request click the green “Create Pull Request” button at the bottom of the window. In the screen snippet I clicked the down-arrow to indicate there are multiple options.
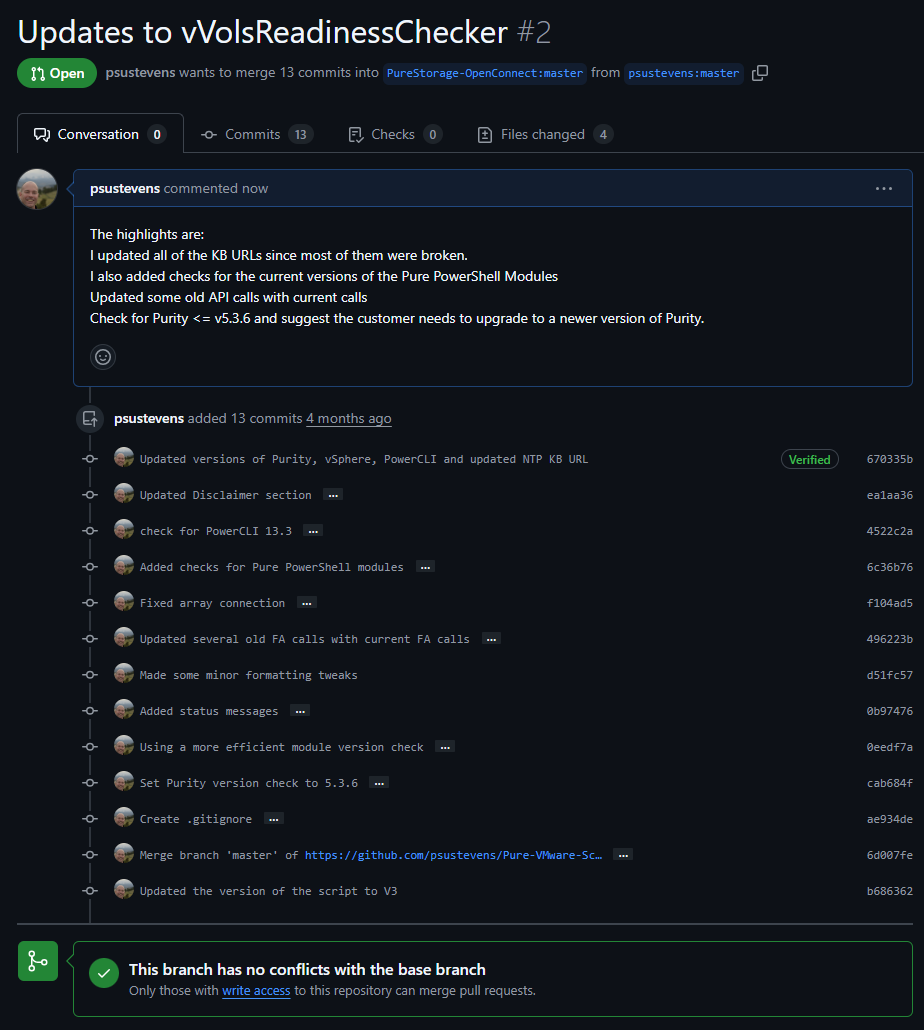
After submitting your pull request you are presented with a summary of it. If you look at the top of the screen snippet you will see the pull request is open and the suggested merge request:
psustevens wants to merge 13 commits into PureStorage-OpenConnect:master from psustevens:master
At this point it’s a waiting game for the owner of the project to review and merge your pull request into the upstream/parent repository. The owner can also reply to you with suggestions to make before they will accept your request.
Pull request details
After the repository owner has merged your pull request you should be notified. Going back into GitHub and looking at your pull request you will see it has been merged into the upstream/parent respository. You just completed your first pull request and had your changes accepted!
mikenelson-io merged 13 commits into PureStorage-OpenConnect:master from psustevens:master

Merged pull request
Summary
Hopefully, this post has helped you. I know it helped me get past my fears of using pull requests in my work on GitHub. If there is something you think I’m missing and feel should be modified or added, please let me know.
Thanks for reading!